

Easy DIY Birthday Photo Banner

This post contains affiliate links. For more information, review my disclosure policy here.
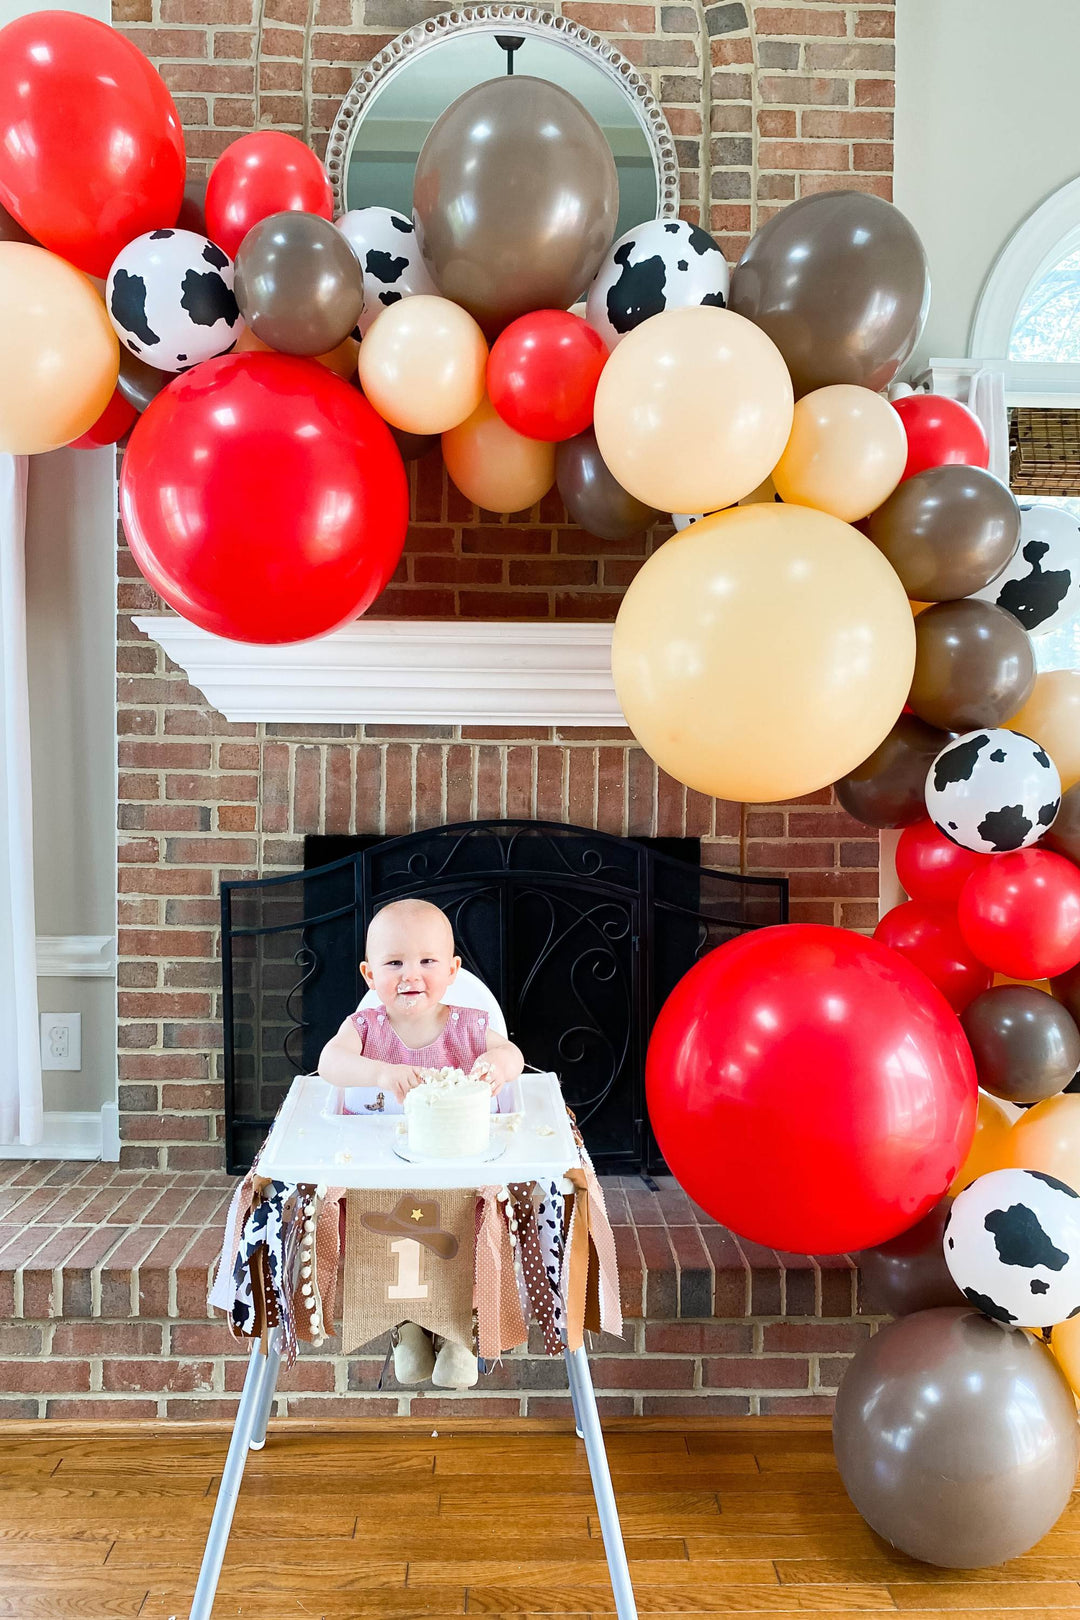
This DIY birthday photo banner is one of my absolute favorites lately! It's the perfect addition to any first birthday party as it shows off your little cutie throughout their first year of life. Plus, they're super easy to create so it's basically a no brainer.
Materials:
• Template
• Printer
• About 100 lb card stock (full sheet or precut 5x7 / 4x6)
FIND A TEMPLATE
Select from our selection of easy to use DIY templates. Find one that matches your event style and remember, they're editable! Easily change up fonts and font colors to match your style and with some options, you can also change the background or graphic colors. It just depends on which template you select.
Feel free to try the demo link located in each product description so you can see exactly how the template platform works and what exactly will be editable on your template of choice. For the purposes of this video, we'll be using the JOLIE First Birthday Milestone Banner. 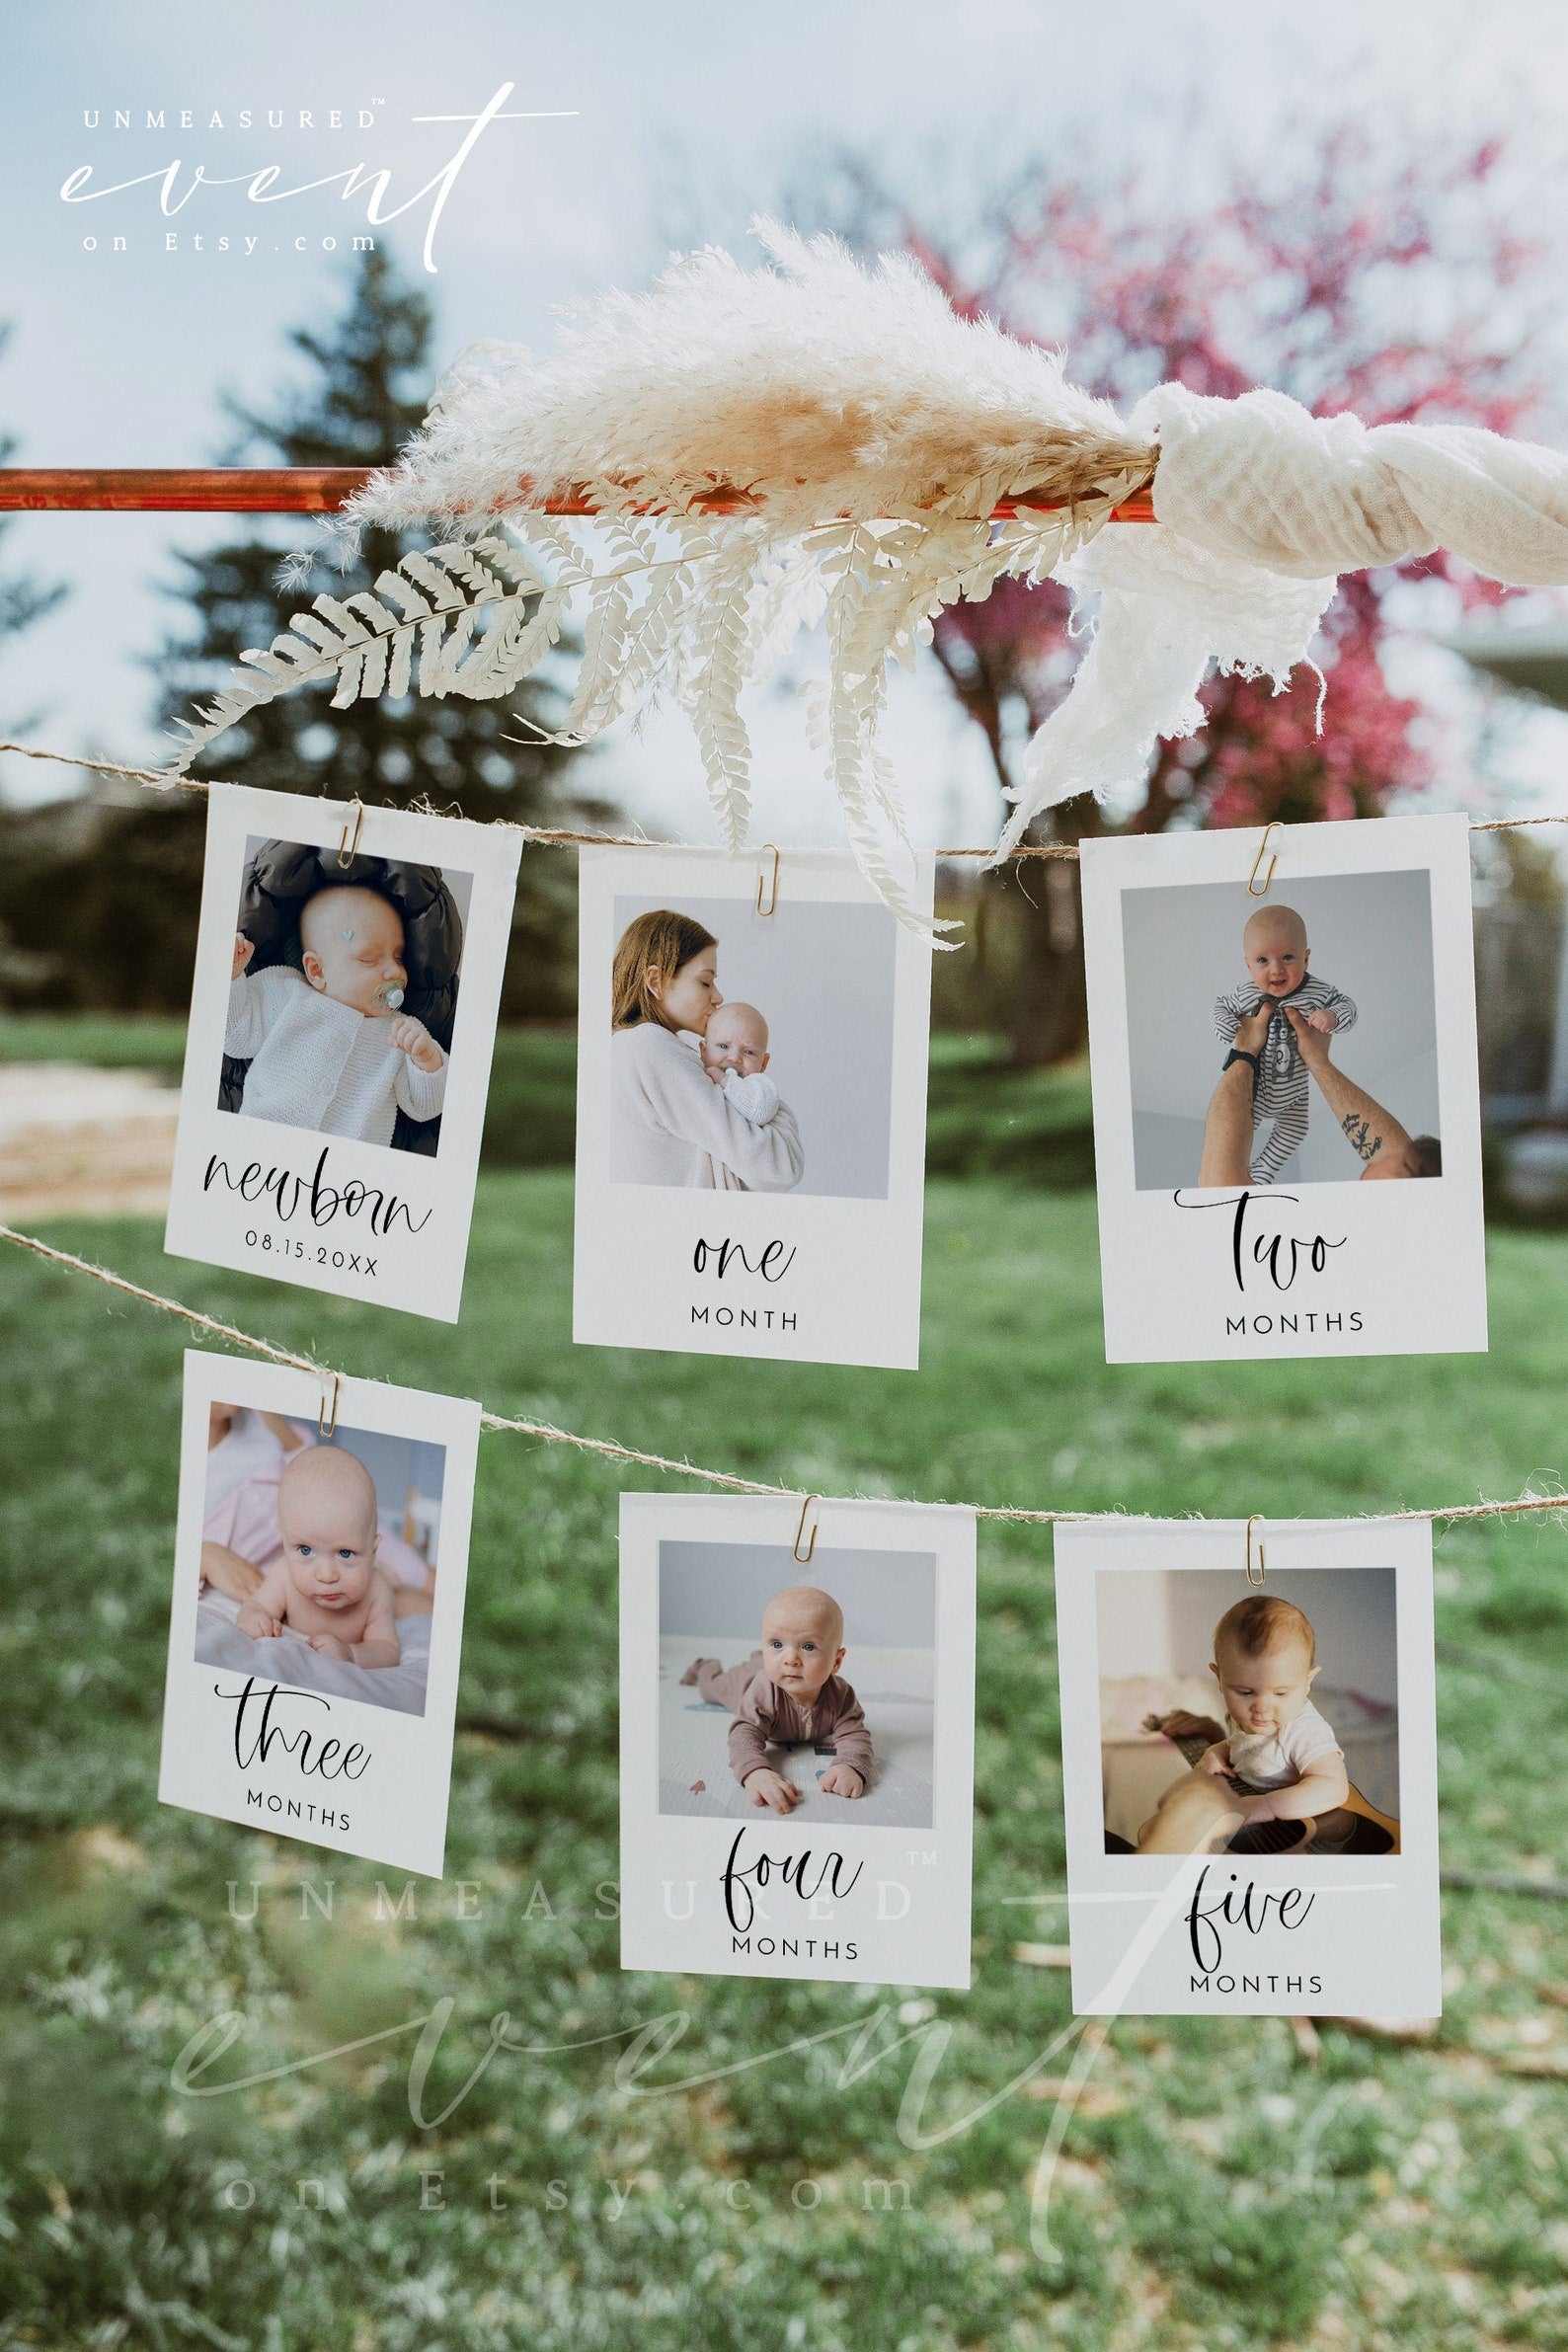
PERSONALIZE YOUR TEMPLATE
Our templates are hosted on the platform Templett.com and they're insanely easy to edit! Once you purchase a template, you will receive an email from Templett.com to access your templates. From there, you'll add in your photos, change up any wording, download and print!
If you want to see the edits in action, scroll down to a 5 minute video to show you how to make this banner from start to finish.
PRINT YOUR TEMPLATE
There are several ways to print these DIY banners depending on how hands-on you would like to be. You can print at home or with a professional service. 
HOME PRINTING
First of all, I recommend using card stock that is about 100 lb. thick - at least 80 lb. thick if you can't find a thicker version. I personally prefer heftier stocks because they don't bend easily and overall have a more luxurious feel.
• Full Sheet Card Stock Paper: If you're printing on full sheet 8.5x11" card stock, you'll print two images per page. To do so, download your template file as a PDF with the 'save paper' and 'show trim marks' options selected. Print and use a paper trimmer to trim on the lines.
• Pe-cut 5x7" or 4x6" Card Stock: Depending on your printer type and the design you select for your banner, printing on pre-cut paper may be a great option for you. If you select a design that has graphics reaching to edges of paper, you'll want to make sure to have an edge to edge printer on hand. Otherwise, be prepared to have a white border around the edges of your banner. When you print on precut card stock, you'll download your file as a PDF with no additional options selected. Once download, open the file and select your computer print button. Change your paper size to the size of your card stock paper and then adjust the scale in your printer settings to 100%. Then print, so simple!
PROFESSIONAL PRINTING:
If you'd prefer to have a professional handle the print job for you, that's totally fine! We recommend Prints of Love as our professional printer of choice. To print with them, simply download as a PDF with the 'bleed' option selected and upload to their site as a single file. They will print quickly and provide free 2-3 day shipping.
Once you have your printed cards ready to go, you'll just need some string or ribbon, some clothes pins or paper clips. You can use the pins to secure the cards to the string or you can hole punch the top right and left corners of your cards to thread the string through. Don't know what I mean by that? Watch the video below! Fast forward towards the end if you want to see the banner assembled.
Love the idea but have a different look in mind? We have tons of other design options to choose from.
What did you think of this DIY tip? Is this something you would use for your little one's big day? Let us know in the comments below! If we left anything our anything was confusing, please feel free to let us know that as well. We're here to serve you the best and most relevant DIY event tips and tricks so reach out to us any time!

Leave a comment